
Three things decide how personalisation turns out: the material being printed on, the surface the product actually has, and the quantity you order. A design that works on one product may not fit another at all — and some solutions only open up once the quantity passes a certain threshold. Below is a breakdown of which technique suits what, and of the route from the first file to a design proof.
Four techniques that are genuinely used
There is no better and worse among the techniques, only suitable and unsuitable. Each of them carries one type of design well and another type badly, and the choice usually follows the material: paper and cardboard take print, wood takes engraving, a round or small surface takes a label.
- Full-colour printing on eco paper or kraft paper. It carries everything: a multicoloured logo, a photograph, a gradient, a longer text. It suits boxes, sleeves, cards and printed matter. This is the only technique where you do not have to simplify your brand colours.
- Engraving on wood and on pencils. The result is single-colour and comes from the tone of the material itself — no colour is added. In return, an engraving does not wear off and does not come away in the wash. A logo with fine colour distinctions has to be simplified to a single colour first, otherwise part of the mark disappears.
- Label. The most flexible solution: it suits small and round surfaces, carries full colour and works at smaller quantities too, where direct printing is not yet sensible. The same product can carry a different label for different clients without the product itself changing.
- Box sleeve. It gives a large print area without having to redesign the box itself. Practical when you want to package one and the same kit for two different campaigns or two different languages.
The print area is a question of the product, not of what you want
The most frequent obstacle is not the technique but the surface. A round cup, a narrow pencil barrel and a small wooden tag give the design a completely different window from a flat side of a box. On a round surface the print has to stay on one side, because the image starts to stretch at the edges; on a pencil the surface is a narrow strip that fits a name or a short domain, not a slogan.
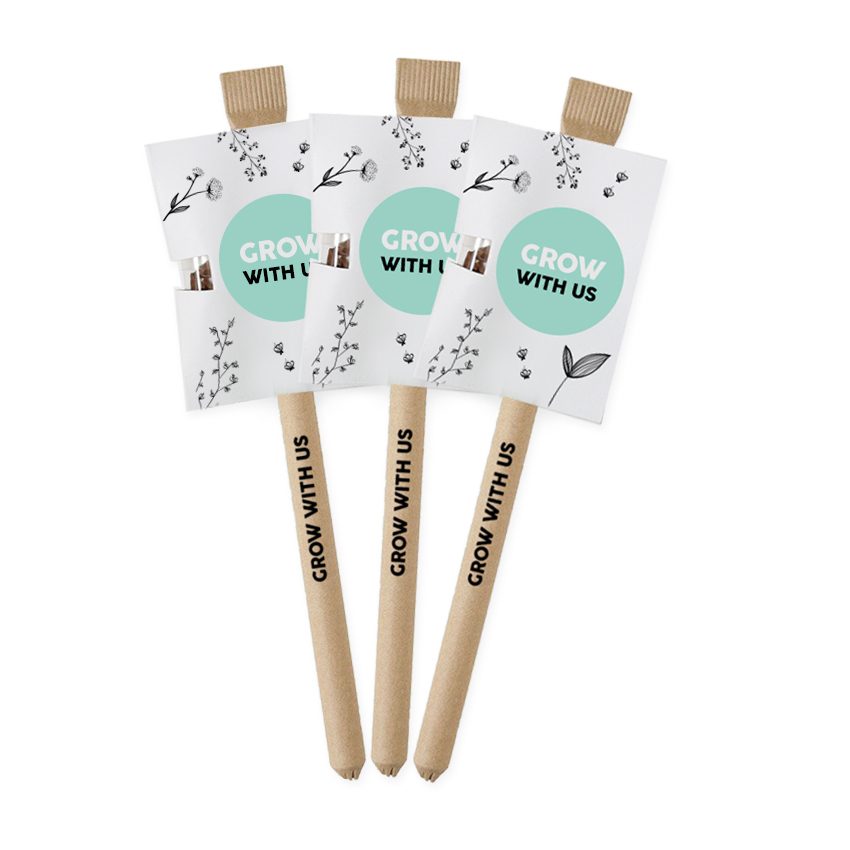
That is why the product choice and the design idea are worth tackling at the same time rather than one after the other. If the design is approved before the product is chosen, one of the two usually has to change anyway. For example, pencils with seeds carry an engraving well, but no pencil carries a multicoloured logo — that knowledge changes the design, not the product.
The same logic applies to office products: the more naturally flat surface a product has, the freer the design. Among eco office supplies there are both flat and round items, and the choice between them determines a large part of what can be done with a logo at all.
Why quantity changes the options
Printing techniques differ in how much preparation they need. Direct printing on a product requires a set-up that is done once for a given order — which is why it only becomes sensible from a certain quantity upwards. A label and a sleeve need no such set-up and work at a small print run as well.
The two thresholds listed on our products show this logic most clearly: full-colour printing on the box starts from 500 pieces and direct printing on the cup from 1000 pieces. Below those thresholds the personalisation does not disappear — it simply moves somewhere else: to a label, a sleeve or an engraving.
This has a second, less obvious consequence. At a smaller quantity you have more freedom in the product choice and less freedom in the print area; at a larger quantity it is the other way round. A hundred kits can be put together from several different products, because none of them needs a separate set-up. A thousand kits are best kept on one product, because then the set-up pays for itself and the print goes straight onto the product rather than onto a sleeve.
The practical conclusion for the buyer is simple. If you are planning 300 kits, do not ask for full-colour printing on the box; ask which solution gives the largest surface at that quantity. If the quantity is 400 and the threshold is 500, it is worth checking whether another department or the needs of the next event fit into the same order — a hundred pieces more can open up a technique you could not otherwise use. Prices also depend on the quantity, which is why sales are enquiry-based and prices are calculated on the specific quantity and print.
How the design proof process actually works
- You send an enquiry. It includes the product or product idea, the approximate quantity, the deadline you want and the logo file. If the product has not been chosen yet, it is enough to describe who the gift is going to and how many there are.
- We reply with the technique that is possible on that product at that quantity. This is where it becomes clear whether we are talking about direct printing, a label, a sleeve or an engraving — and whether the quantity is close to a threshold.
- The first digital design proof is produced. It is free, ready within one day and commits you to nothing. The proof shows the logo on the product in the right place and at the right size, not a generic illustration.
- Your corrections. A couple of things usually come up here: the size and position of the logo, and whether the text is still legible when small. With a single-colour engraving there is the added question of which part of the logo remains.
- Approval and production. After your approval the job goes into production and orders are fulfilled within up to 10 working days. In season, especially in autumn, it is worth counting that time back from the deadline rather than putting it right up against it.
What speeds the process up and what slows it down
Three things speed it up. First, the logo in vector form — from that we can make both a print file and an engraving without redrawing anything. Second, a single-colour version of the logo if an engraving or a single-colour print is planned; if there is none, we will propose one, but that takes an extra round. Third, a clear quantity: “roughly one hundred to five hundred” means two different technical solutions and therefore two different calculations.
Mainly one thing slows it down — changing the design after the technique has been chosen. If an engraving has been agreed and a second colour is then added to the design, the choice starts again at product level. That is why we ask about the quantity and the printing preference in our very first reply. The most common questions about files, quantities and deadlines are collected with their answers on the questions and answers page.
In short, personalisation is always a question of three variables at once: product, technique and quantity. Changing one moves another, and that is precisely why it is quicker to look at them together than to approve them one by one. It is most useful to send an enquiry once you have a quantity and an approximate deadline — the rest can be settled during the design proof. If you do not know which product gives your logo the most surface, write that down as a question and the answer will come with the proof. The range on which this is easiest to try out can be found under growing kits.